
How to Unlock Your Next DIY Inspiration: Part Two - Painted Bathroom Vanity Lights
/
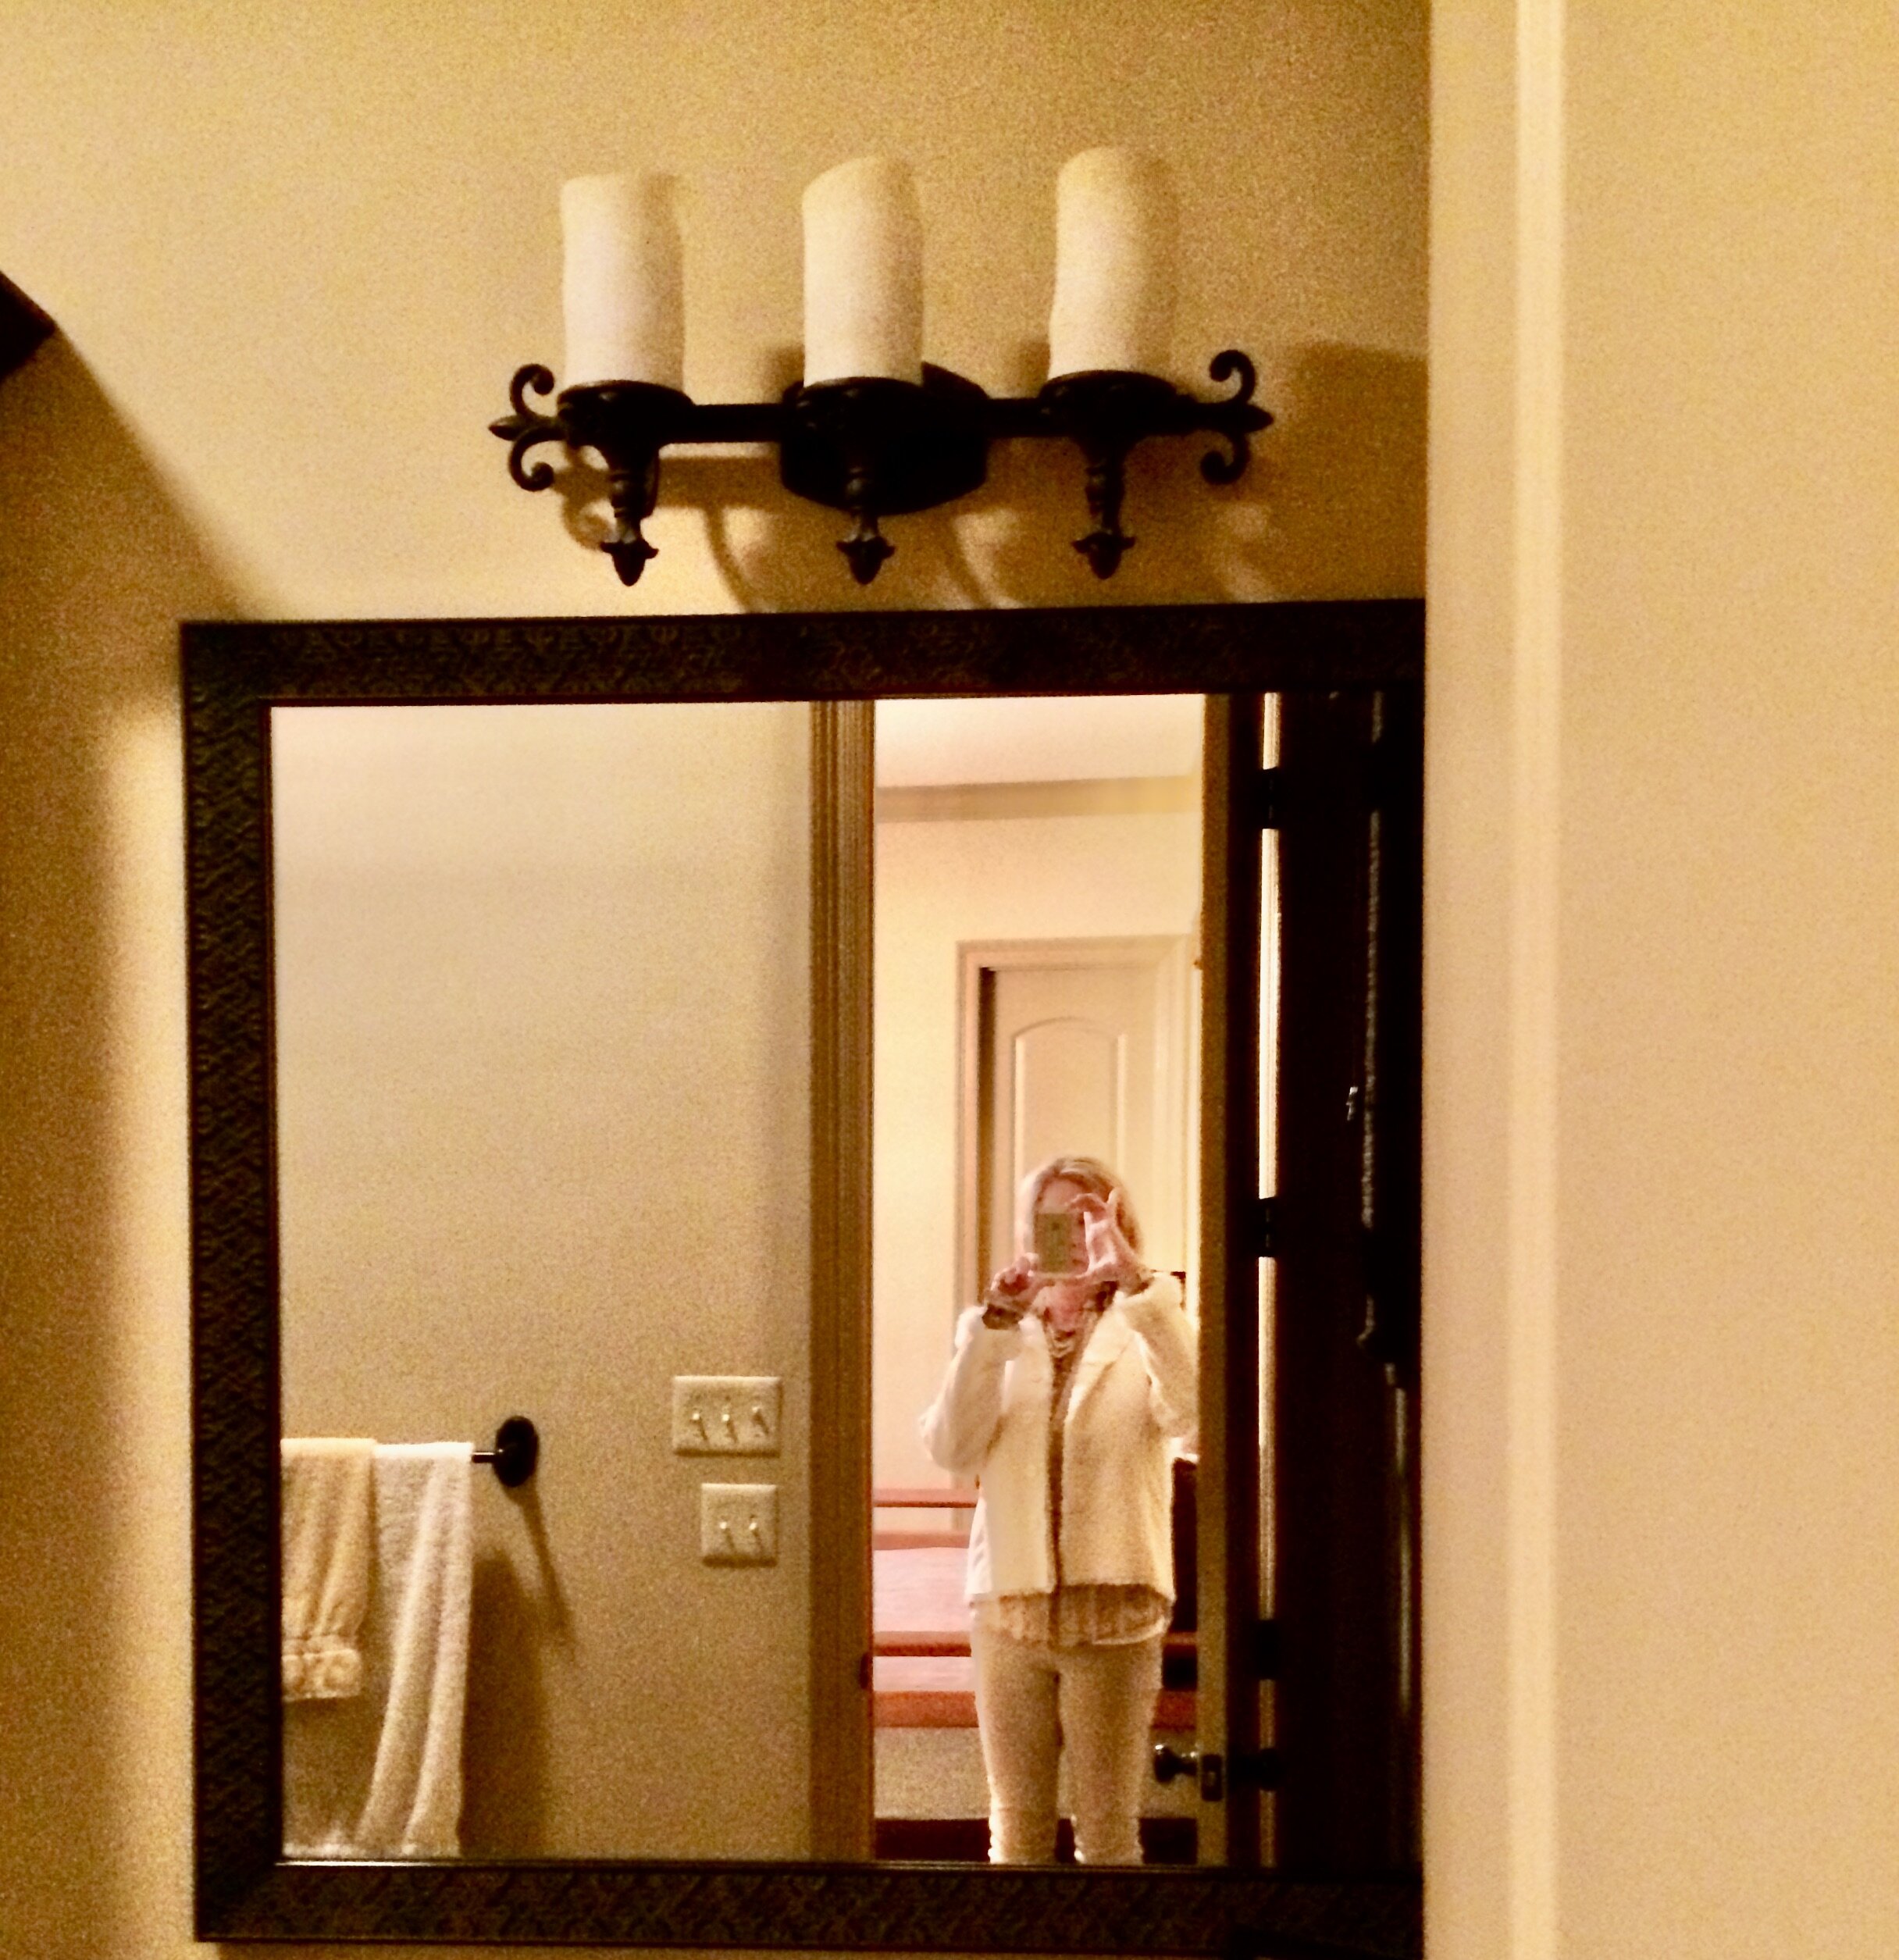
The finished project. Mirrors from a pervious post and the, now newly painted, light fixtures to match.
Welcome to Part Two of my new series on Unlocking Your DIY Inspiration. This is the second in a group of short posts on all the things you can DIY. Rather than how-to articles, the idea behind these brief pieces is to dare you to try out your creativity, to give DIY a try in sprucing up or transforming items in your home. If you missed Part One on antique barn lights you can read it here. Let’s get going with refurbishing your existing bathroom light fixtures…
If you read my post on refurbishing the mirrors in my home then you know how I transformed the master and two guest bathroom mirrors from dark to light. As I’ve written, all three dark-framed mirrors, installed by the previous owners, were beautiful. But…
When you change one thing… it necessitates more changes.
They were paired with equally beautiful, black wrought iron - ebony light fixtures. I changed out the master bath fixtures for new ones but that’s where the budget ended.
What do you do when dollars run dry? Of course, you DIY.
I loved the look of the two existing guest bathroom fixtures. But with the newly painted light-toned mirrors the iron lights definitely needed a re-do. So, I pulled out the paint.

For both sets of fixtures, as with the mirrors, I started out with a base coat of Annie Sloan Chalk Paint, Old White. Next, I used the same tones I’d used for the completed mirrors for inspiration in adding layers of shades to the lights. I overlaid various hues of beige, grays and gold.
Next, I used a thin-tipped paint brush to apply Annie Sloan Dark Wax to the edges and grooves. Using a soft cloth to rub it in, added an antique look and also emphasized the beautiful carving of the fixtures. I sanded various spots to lend a worn, distressed and unique look to each piece.
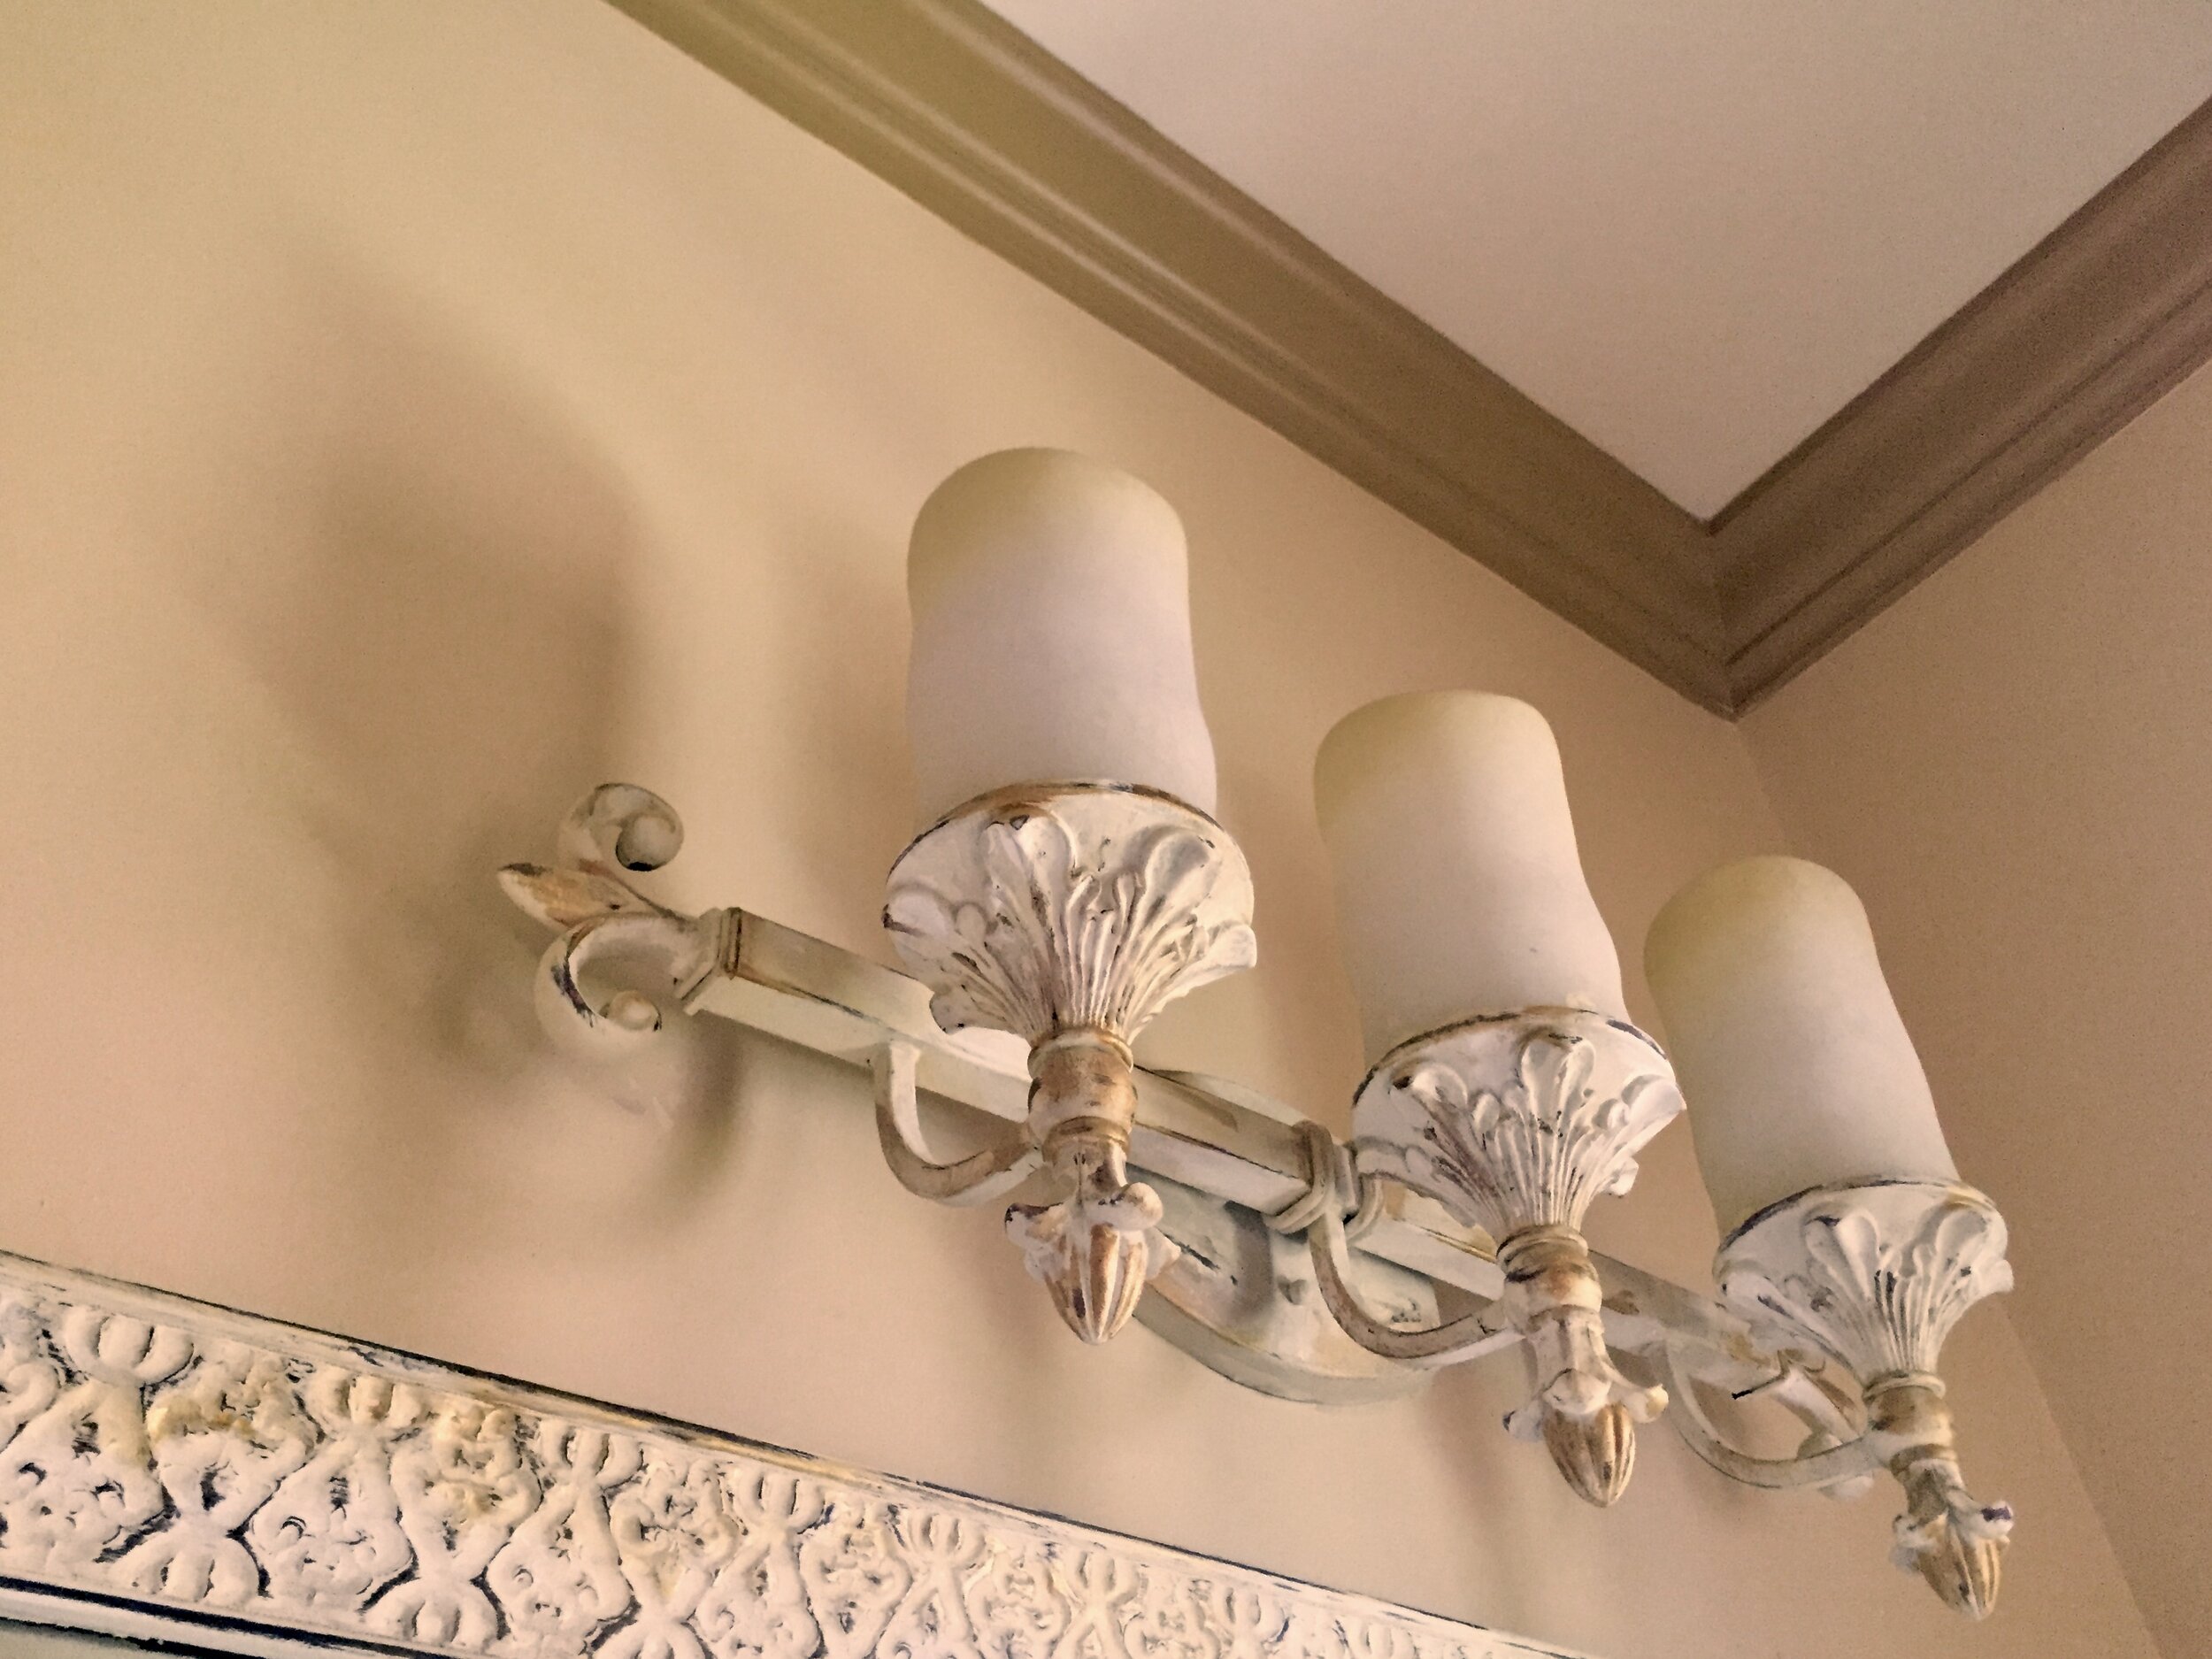
Guest bathroom vanity light fixture #1

This fixture was black wrought iron prior to refurbishment

Mirror and lighting fixture painting complete
Guest bathroom vanity light fixture #2
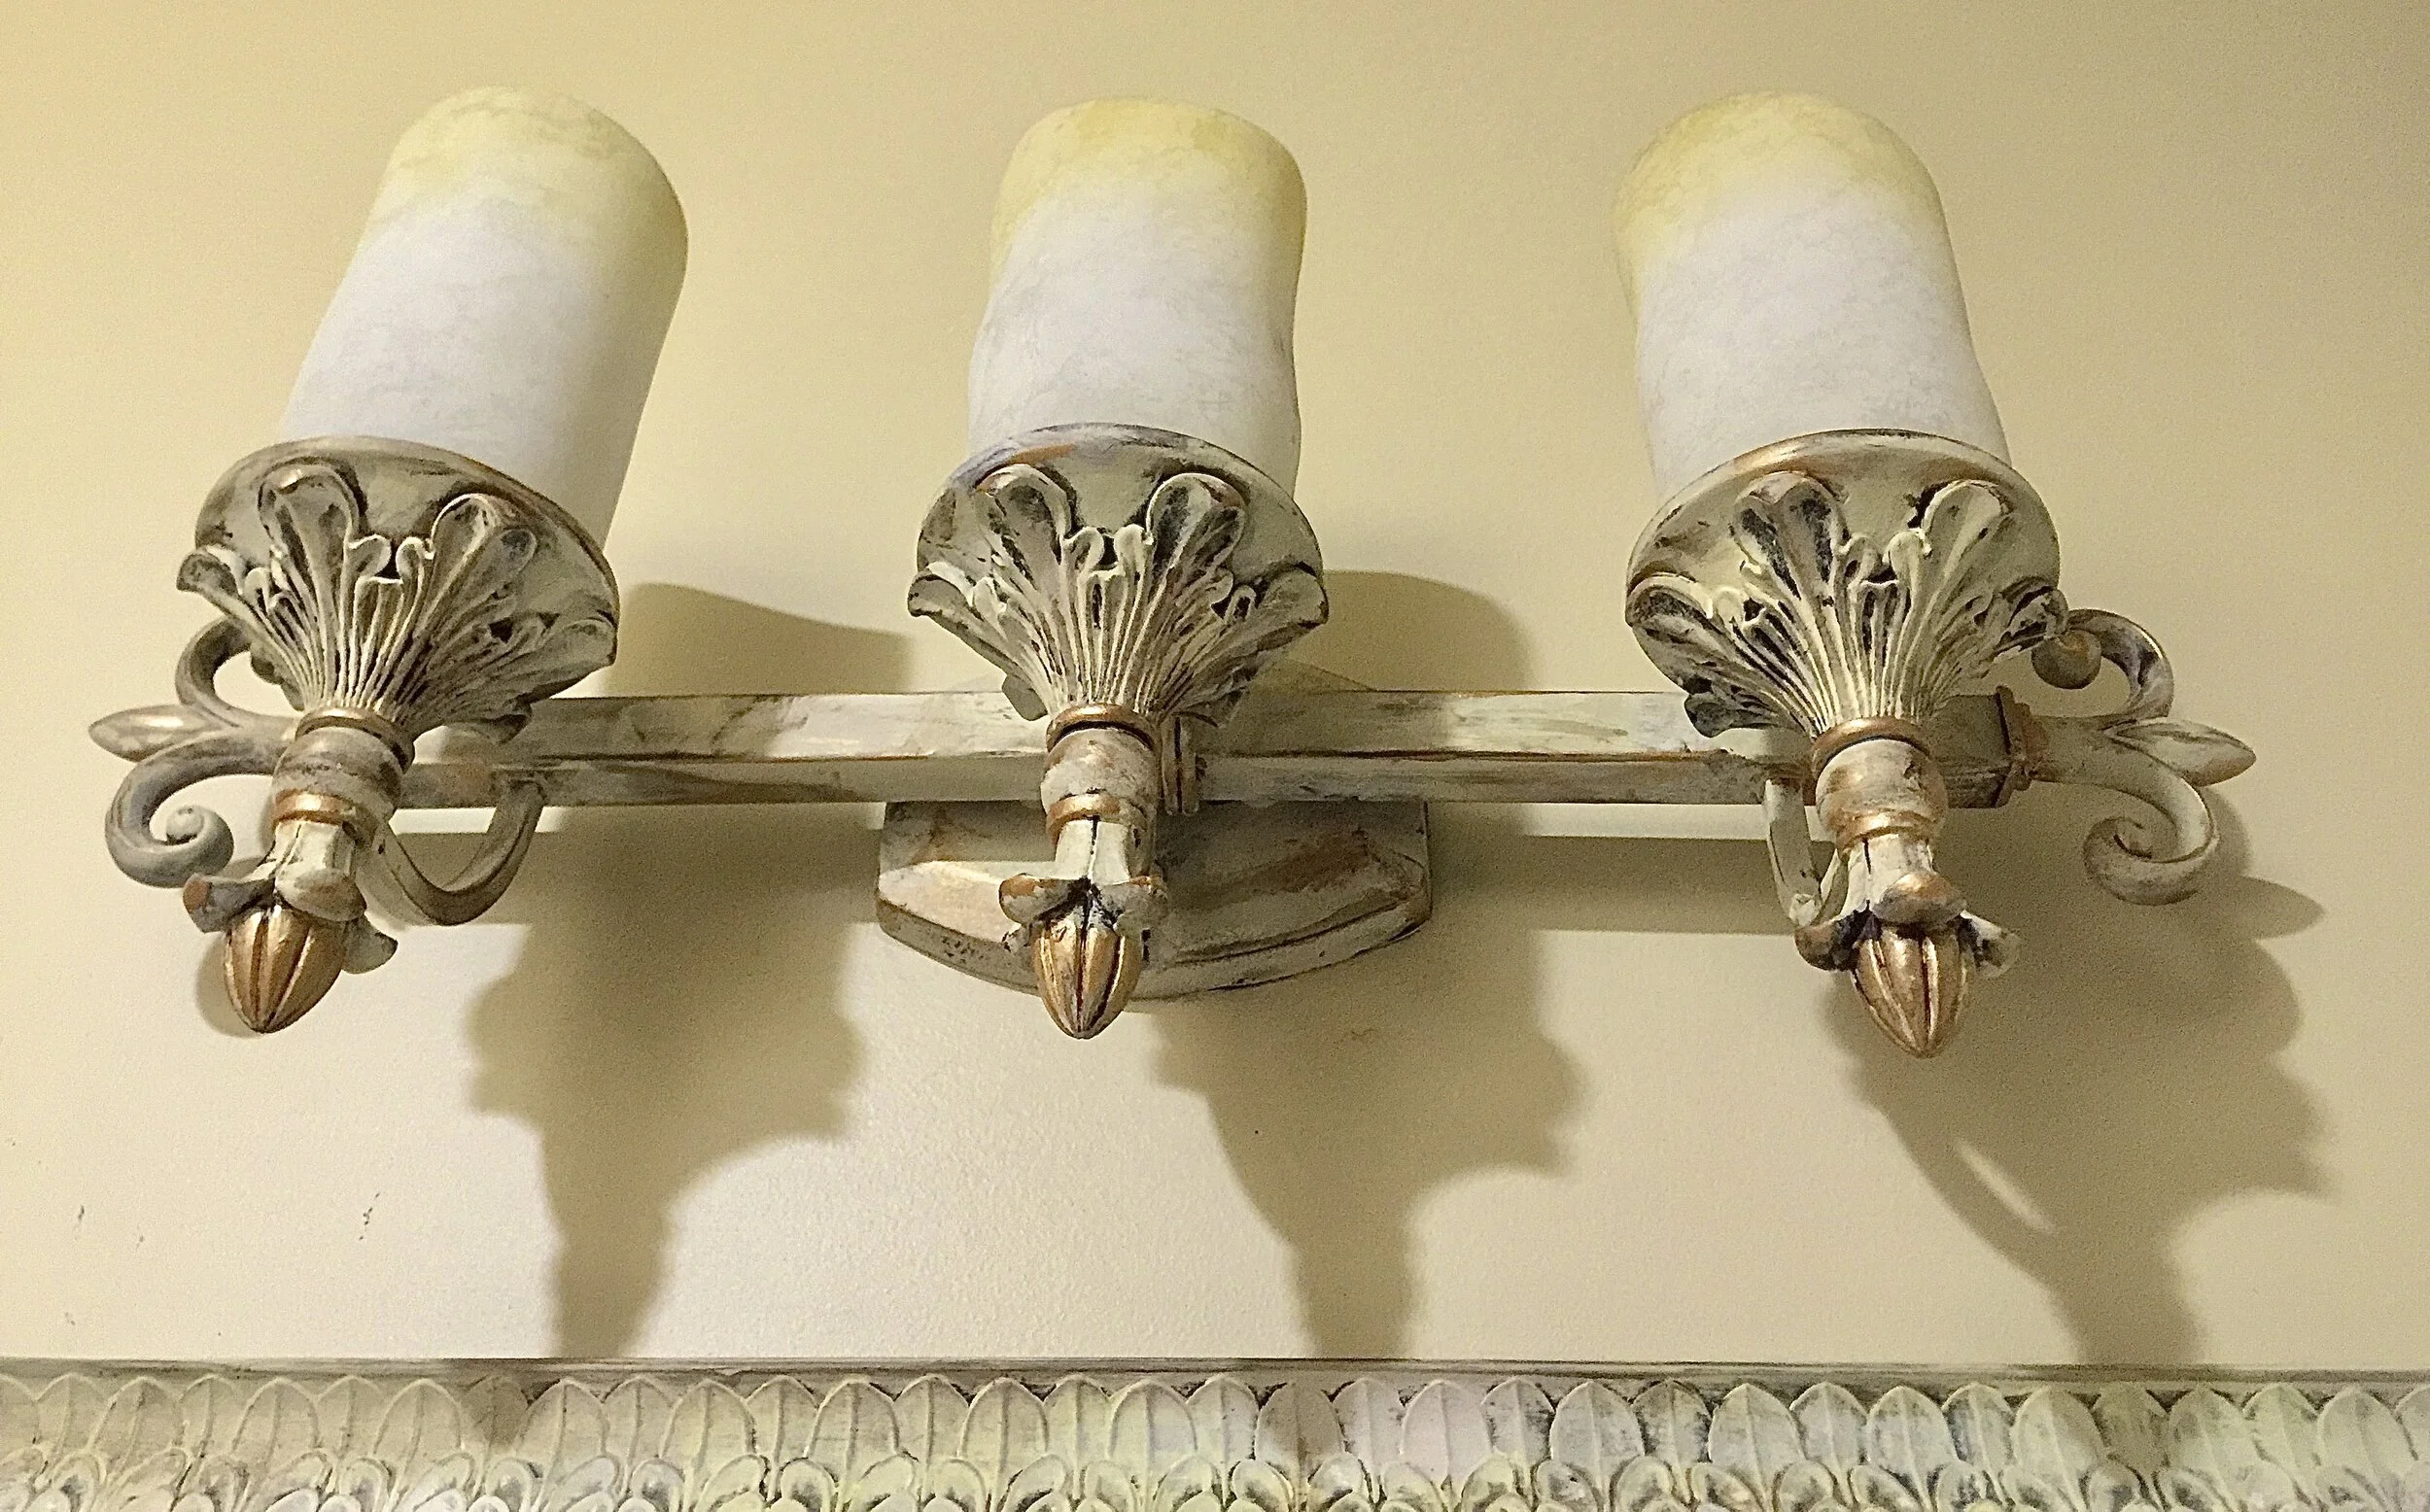


mirror and light fixture painting completed
Tips for LIVING BETTER by Unlocking Your Creativity
If you are a DIY novice, attempting a distressing project is a forgiving way to start your creative journey! Don’t assume you aren’t artistic. This style is almost impossible to mess up.
You’re going for the imperfect. Clumps, mistakes and nicks are desired! If you don’t like a result, just paint over it and begin again. Layers of color look fantastic and are found in most painted antiques.
Don’t worry about knocking around or scratching up a distressed piece - the more dents, the better.
It’s difficult to ruin a distressing or antiquing project. The idea is to messy it up. Thats why we call it “distressed”.
Do you love home decor, DIY, or interior design? Check out this article on The Best Way to Make a New Mirror Look Old. This a great post about distressing and antiquing DIY style
Related Posts
How to Improve the Look of Your Bathroom with One Simple DIY
How to Unlock Your Next DIY Inspiration: Part One - Antique Barn Lights
How to Distress a New Mirror to Look Like a Beautiful Antique
If you know someone who would like these DIY and decor ideas please share through social media.
Have you painted the light fixtures in your home? Post your photos in the Comment Section below. You can inspire others to unlock their creativity and DIY potential.